You spun up a new box, worked through a hardening guide, set PasswordAuthentication no, restarted SSH, and moved on. Six months later you are reading auth logs for an unrelated reason and there it is: successful password logins. Not attempts. Logins.
The line you wrote was real. The file was saved. What you did not know is that your distro puts an Include /etc/ssh/sshd_config.d/*.conf near the top of sshd_config, that sshd uses the first value it finds for any given keyword, and that your cloud provider’s image dropped a 50-cloud-init.conf in that directory setting PasswordAuthentication yes. It sorts earlier. It wins. Your line at the bottom of the main file was never reached.
You never noticed because you log in with a key anyway. Nothing broke. The control just was not there.
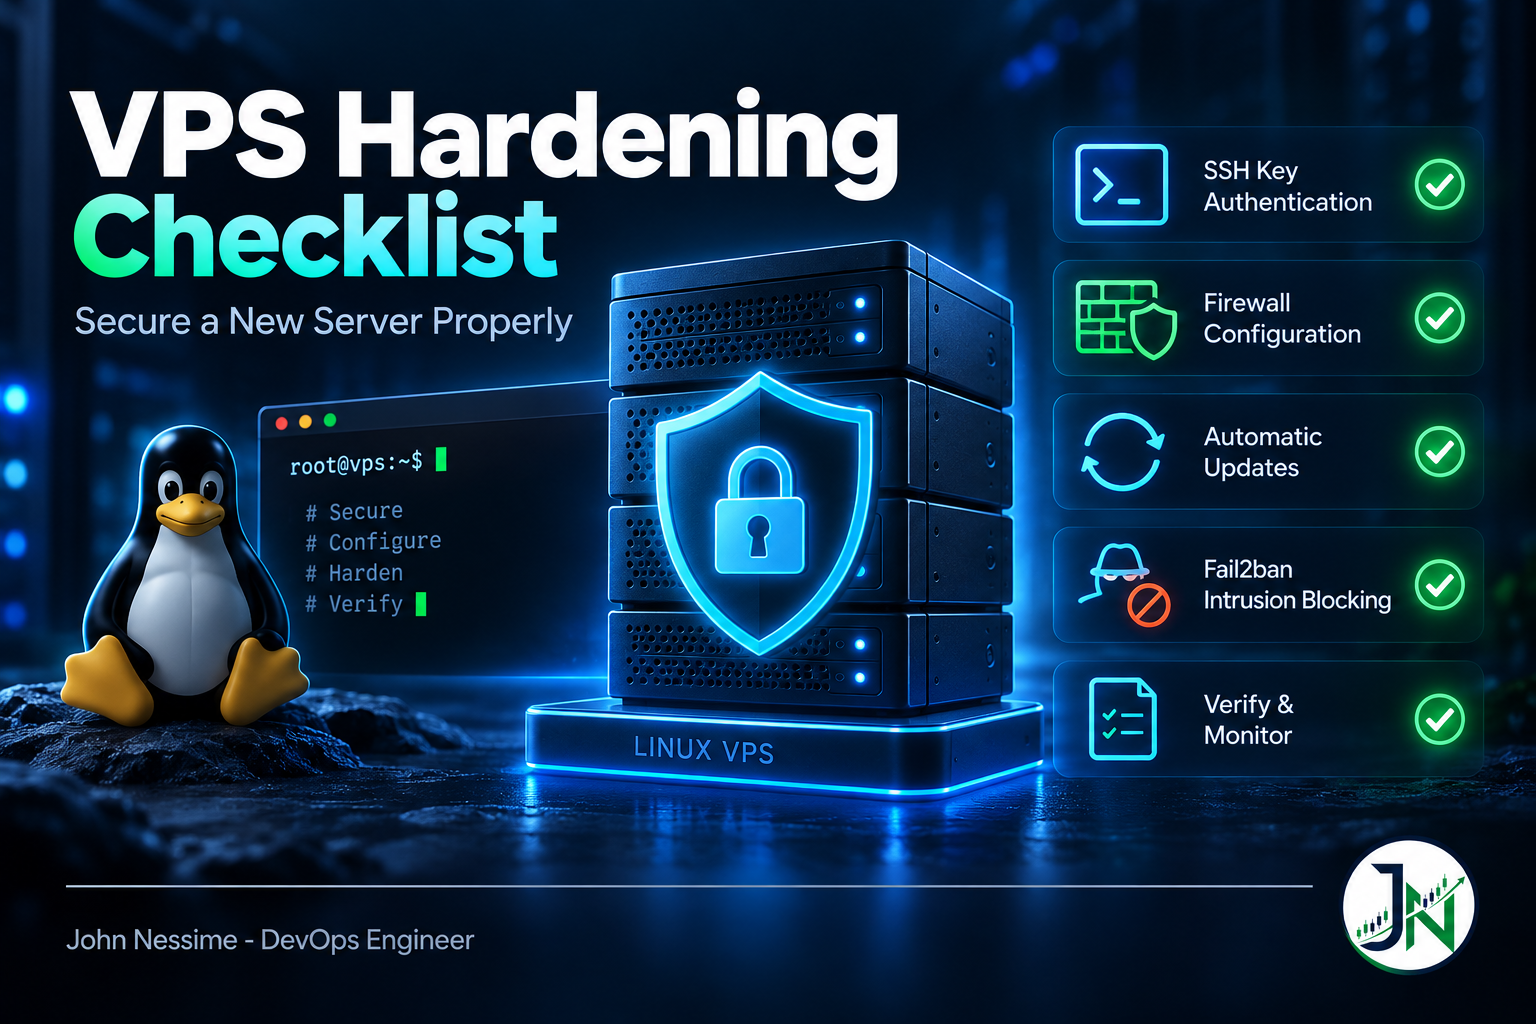
That is the thing most guides get wrong, and it is the idea this VPS hardening checklist is built around: a hardening step is not done when you have edited the file. It is done when you have checked the effective configuration and seen the value you expected. Everything below comes with the command that proves it.
This covers the order to do things in so you do not lock yourself out, SSH keys and config, the firewall, automatic updates, fail2ban and whether it is worth it, the unglamorous things that matter more than any of it, and what I would skip.
Before you touch anything
Two minutes of preparation that saves an evening.
Find your provider’s console before you need it. Whether you are on InterServer, Hetzner, DigitalOcean or anything else, there is a web-based serial or VNC console that works when SSH does not. Open it now, log in as root, and confirm it works. This is your parachute. If you are going to lock yourself out, you want to already know where it is.
Never close the session you are working in. Every SSH change gets tested from a second terminal while the first one stays open. If the new settings are broken, the old session is still authenticated and you can undo them. Close it too early and your only route back in is the console.
Then update the system, because everything else assumes current packages:
sudo apt update && sudo apt upgrade -y
sudo reboot   # if a kernel update landed
1. A real user, and keys instead of passwords
Generate the key on your own machine, not on the server. A private key that has been on a server is not a private key any more.
# On your laptop. ed25519 is the sane default: short keys,
# fast verification, no parameter choices to get wrong.
ssh-keygen -t ed25519 -C "deploy@my-laptop"
# On the server, as root.
adduser deploy
usermod -aG sudo deploy # 'wheel' instead of 'sudo' on RHEL-family
# Back on your laptop. ssh-copy-id appends to authorized_keys
# and sets the permissions correctly, which is the part people
# get wrong when they paste the key by hand.
ssh-copy-id deploy@203.0.113.10Now open a second terminal and confirm ssh deploy@203.0.113.10 works, and that sudo -v works once you are in. Only then move on. If either fails, fix it before you disable anything, because in a minute you will be removing the fallback.
2. SSH config, and why your edit might do nothing
This is the section that actually matters. Two mechanisms silently override what you write.
Drop-in files and first-match-wins
Modern OpenSSH packages ship an Include line near the top of /etc/ssh/sshd_config, which pulls in every .conf file from /etc/ssh/sshd_config.d/ in alphabetical order, before the rest of the main file is read. Combine that with sshd’s rule that the first value found for a keyword wins, and the consequence is specific: your drop-in has to sort earlier than the vendor’s, not later.
Most guides tell you to name it 99-something.conf, which is the convention almost everywhere else in Linux and exactly backwards here.
# /etc/ssh/sshd_config.d/00-hardening.conf
# Sorts before 50-cloud-init.conf, so these values are seen first.

PermitRootLogin no
PasswordAuthentication no
KbdInteractiveAuthentication no
PubkeyAuthentication yes

# Optional: restrict to the accounts that should have shell access.
AllowUsers deploy
A note on KbdInteractiveAuthentication: older guides and older OpenSSH call this ChallengeResponseAuthentication. Setting only PasswordAuthentication no can still leave a keyboard-interactive path open on some configurations, which is why both are here.
Now the part nobody does. Validate the syntax, then read the effective config:
# Syntax check. Prints nothing if the config is valid.
# Run this BEFORE restarting, always.
sudo sshd -t

# Dump the effective configuration with every include resolved.
# This is the only output that tells you the truth.
sudo sshd -T | grep -Ei 'permitrootlogin|passwordauthentication|kbdinteractive|pubkeyauth'
If passwordauthentication yes comes back, your file lost to something else in that directory. Look at what is in there with ls /etc/ssh/sshd_config.d/ and either rename yours to sort earlier or edit the offending file directly.
Socket activation, and the port that will not change
The second trap. On several current distro releases, SSH is started by systemd socket activation rather than as a persistent service: ssh.socket holds the listening port and starts sshd only when a connection arrives. On those systems the Port and ListenAddress directives in sshd_config may be ignored entirely, because systemd owns the socket.
People change the port, restart the service, see no error, and assume it worked. Check what is actually bound:
# -t TCP, -l listening, -n numeric, -p show the owning process
sudo ss -tlnp
If you genuinely want a different port on a socket-activated system, override the socket unit with a proper drop-in rather than editing files under /lib/systemd/system/, which a package update will overwrite:
sudo systemctl edit ssh.socket# In the editor that opens:
[Socket]
# The empty assignment clears the inherited value. Without it
# you end up listening on both the old port and the new one.
ListenStream=
ListenStream=2222sudo systemctl daemon-reload
sudo systemctl restart ssh.socket
sudo ss -tlnp # confirm before you trust itHonest assessment of port changes: this is not security. Anyone scanning your address finds an SSH daemon on a non-standard port in seconds. What it genuinely does is cut the volume of automated login noise in your logs by a large margin, which makes real events easier to see. That is a maintenance benefit, not a defence, and it is worth doing for that reason alone. Just do not count it as one of your controls.
3. Firewall, in the right order
The ordering here is the whole trick. Set the default policy and add your rules before you enable the firewall. Enable first and you will drop your own connection with the policy that denies everything.
sudo ufw default deny incoming
sudo ufw default allow outgoing

# Allow SSH BEFORE enabling. If you changed the port,
# allow that port instead of the OpenSSH profile.
sudo ufw allow OpenSSH
# sudo ufw allow 2222/tcp

sudo ufw allow 80,443/tcp

sudo ufw enable
sudo ufw status verbose
Read that status verbose output rather than assuming. It shows the default policies and every rule, and it is the proof that this step is done.
One thing worth knowing if you run containers: Docker writes its own rules directly into netfilter and bypasses ufw. A container published with -p 5432:5432 is reachable from the internet even though ufw says that port is denied. Bind container ports to 127.0.0.1 explicitly, or put the service behind a reverse proxy, and verify from outside the box with a port scan rather than trusting the firewall status.
A stronger option worth considering: do not expose SSH to the internet at all. Put the server on a private overlay network with something like Tailscale or a WireGuard tunnel, bind sshd to that interface, and close port 22 to the world entirely. More setup, and it removes an entire class of problem rather than filtering it.
4. Automatic security updates
Unpatched packages are a far more realistic route into your server than an SSH brute force. This is the highest-value item on the list and it takes two commands.
sudo apt install unattended-upgrades
sudo dpkg-reconfigure --priority=low unattended-upgrades

# Verify. Note the binary is singular, the package is plural.
# --dry-run makes no changes.
sudo unattended-upgrade --dry-run --debug
By default this applies security updates only, which is the right scope. Enabling automatic reboots is a real trade-off: it closes kernel vulnerabilities without you doing anything, and it will restart your server at whatever hour you configure. On a single web server with a proper service startup order, I turn it on. On anything holding state that does not recover cleanly from a hard restart, I leave it off and patch by hand.
5. fail2ban, and what it is actually for
Install it, but be clear about the role. Once password authentication is off and root login is disabled, a brute force against sshd cannot succeed. There is no password to guess. fail2ban is not what is keeping those attackers out; your key-only config is.
What it does earn its place for is reducing log noise and CPU spent on connection handling, and protecting the services where credentials do exist: a mail server, a web application login form, an FTP daemon.
sudo apt install fail2ban

# Do not edit jail.conf; it gets replaced on upgrade.
sudo cp /etc/fail2ban/jail.conf /etc/fail2ban/jail.local

sudo systemctl enable --now fail2ban
sudo systemctl status fail2ban
sudo fail2ban-client status sshd
Check that status output properly. fail2ban has shipped in states where the service fails to start on a given distro release because the packaged version does not match the system Python, and it fails loudly in the journal and silently everywhere else. A stopped fail2ban looks exactly like a working one from the outside. If it is not running, journalctl -u fail2ban will tell you why.
Set ignoreip in jail.local to include your office or home address. Banning yourself is a rite of passage but it is avoidable.
6. The boring items that matter more than the exciting ones
Nobody writes blog posts about these, and they cause more real outages than any of the above.
Provider account security
Turn on two-factor authentication in your hosting control panel and your domain registrar. Someone with your provider login does not need to defeat sshd; they can reset the root password from the console or attach your disk to a machine they control. This is the weakest link on most setups and it takes two minutes.
Time and timezone
sudo timedatectl set-timezone UTC
timedatectl status       # look for "System clock synchronized: yes"
UTC on servers, always. Correlating logs across machines in different local times, one of which observes daylight saving, is a genuinely miserable way to spend an incident.
Swap on small instances
# A little swap stops the OOM killer choosing your database
# during a traffic spike. It is not a substitute for RAM.
sudo fallocate -l 2G /swapfile
sudo chmod 600 /swapfile
sudo mkswap /swapfile
sudo swapon /swapfile
echo '/swapfile none swap sw 0 0' | sudo tee -a /etc/fstab
free -h
Backups that leave the machine
Your provider’s snapshots live in the same account as the server. If that account is compromised, or you delete the wrong thing, they go with it. A snapshot is a rollback mechanism, not a backup.
Get database dumps and application data onto storage under a different set of credentials, on a schedule, and then do the part everyone skips: restore one. A backup you have never restored is a hypothesis. Point a dead man’s switch service at the backup job so you find out when it stops running, rather than the day you need it.
Knowing the box is alive
At minimum, an external uptime check that alerts you. Better, node metrics into Prometheus with Grafana dashboards, or a hosted equivalent. Disk filling up is the single most common way a small VPS falls over, and it is completely predictable if anything is watching the graph.
What I would skip
Not everything in the long hardening guides earns its cost on a single web server.
- Large sysctl hardening blocks pasted from a gist. Most of the values are already the default on a current kernel, several are cargo-culted from a decade ago, and one of them will break something in a way that takes hours to trace. Change kernel parameters when you understand what each one does.
- AIDE, auditd and file-integrity monitoring on a small server nobody is watching. These produce a large volume of output that needs a human to review. If nobody reads it, it is not a control, it is just disk usage.
- Rebuilding OpenSSH’s cipher list. Current defaults are good. Guides that hand you a
Ciphersline are usually copying advice written for a version that shipped years ago, and you can pin yourself to something weaker than the default without realising. - Disabling ping. It breaks your own monitoring and hides nothing.
Troubleshooting
Locked out after an SSH change
Provider console, log in as root, and revert. If you cannot remember what you changed, ls -lt /etc/ssh/sshd_config.d/ shows the most recently modified file. Run sshd -t to see whether the config is even valid, since a syntax error stops sshd starting at all.
Key auth rejected, password prompt appears instead
Almost always permissions. The home directory must not be group-writable, ~/.ssh needs 700 and authorized_keys 600, both owned by the user. sshd refuses keys from world-writable locations and does not explain itself on the client side. Run ssh -v to see how far it gets, and check journalctl -u ssh on the server for the actual reason.
The setting I applied is not in effect
sudo sshd -T and search for the keyword. If the effective value differs from your file, something in sshd_config.d/ sorts earlier, or a Match block later in the config is overriding it for your connection.
A service is reachable that the firewall says is blocked
Docker, or another daemon writing netfilter rules directly. Check with sudo iptables -S or sudo nft list ruleset, and always verify from a machine outside the server rather than trusting ufw status.
Nothing obviously wrong, but who has been logging in?
last              # successful logins
sudo lastb        # failed attempts, from /var/log/btmp
journalctl -u ssh --since "24 hours ago"
Common mistakes
- Closing your only SSH session before testing the new configuration from a second one.
- Enabling the firewall before adding the SSH rule.
- Naming your sshd drop-in
99-, so a vendor file that sorts earlier wins. - Trusting the file you edited instead of running
sshd -T. - Generating the SSH key on the server.
- Changing the SSH port and counting it as a security control.
- Disabling password auth for SSH while leaving a web control panel with a weak password exposed.
- No two-factor authentication on the hosting account that can reset root.
- Treating provider snapshots as backups.
- Installing fail2ban and never checking that it started.
- Publishing container ports without binding them to localhost, then assuming ufw covers it.
- Pasting a sysctl block you cannot explain line by line.
Best practices
- Verify every control after applying it, with a command that reads the running state.
- Keep a second session open and the provider console tested before making SSH changes.
- Key-only authentication, root login disabled, and an explicit
AllowUserslist. - Default-deny inbound firewall, with rules added before the firewall is enabled.
- Automatic security updates on, with a deliberate decision about automatic reboots.
- Two-factor authentication on the hosting account and the registrar.
- Backups off the machine, on separate credentials, and restore-tested at least once.
- UTC everywhere, with clock sync confirmed.
- Monitoring that pages you on disk usage before it pages you on downtime.
- Script the whole build, so the next server is identical and you are not repeating this from memory.
FAQ
What is the single most important step?
Key-only SSH with root login disabled, verified with sshd -T. It removes the entire category of credential guessing. Automatic security updates is a close second, because unpatched software is the more realistic way in once passwords are off the table.
Should I change the SSH port?
For quieter logs, yes. As a security measure, no. A scanner finds the daemon regardless. The practical benefit is that failed-login noise drops enough that a genuine anomaly becomes visible, which has real value for anyone actually reading their logs.
Do I need fail2ban if password authentication is off?
Not for SSH specifically. Install it for the services that still accept credentials, and for the reduction in log volume and connection churn. Just do not let it occupy the slot in your head reserved for an actual defence.
Why did my sshd_config change get ignored?
Two likely causes. A file in /etc/ssh/sshd_config.d/ that sorts alphabetically earlier set the same keyword first, and sshd keeps the first value it sees. Or the setting is Port or ListenAddress on a socket-activated system, where systemd owns the listener. sshd -T answers the first case and ss -tlnp answers the second.
Is ufw enough, or should I use nftables directly?
ufw is enough for a single server with a handful of open ports, and it is a front end to the same machinery underneath. Write nftables rules directly when you need something ufw cannot express cleanly, such as rate limiting or complex source-based rules. Do not switch tools for its own sake; a firewall you understand beats an elegant one you do not.
How do I harden a server I did not build?
Audit before you change anything. sshd -T, ufw status verbose, ss -tlnp for unexpected listeners, systemctl list-units --type=service --state=running, and the contents of every authorized_keys on the box. Old keys belonging to people who left are extremely common and nobody ever removes them.
Should this be automated?
Yes, once you have done it manually enough times to understand each step. An Ansible playbook or a cloud-init script makes the next server identical and turns your hardening into something reviewable in version control. Automating a process you do not yet understand just makes the mistakes reproducible.
The one thing to remember
Editing a config file is not the same as changing a system’s behaviour. Between your file and the running daemon sit include directives, drop-in ordering, systemd units and packages that ship their own opinions, and any one of them can quietly discard what you wrote without an error message.
So treat this VPS hardening checklist as a set of claims to be tested rather than a list to be ticked. sshd -T for SSH, ufw status verbose for the firewall, ss -tlnp for what is listening, systemctl status for anything you installed. If you cannot show the control from the running system, you have not applied it. You have only intended to.
Want a second pair of eyes on your server?
Most of the servers I get handed were hardened once, by someone who has since moved on, and nobody has verified anything since. Work I take on:
- Auditing an existing VPS and reporting which controls are genuinely in effect versus configured but overridden.
- Building a new server from scratch: users, SSH, firewall, automatic updates, monitoring, backups, all verified.
- Turning a manual build into an Ansible playbook or cloud-init script so the next server matches this one.
- Moving SSH off the public internet onto a private overlay network or bastion.
- Backup strategy that survives the hosting account being compromised, including a tested restore.
- Firewall and container networking, especially where published Docker ports are bypassing the firewall.
Send me the output of sshd -T, ufw status verbose and ss -tlnp, and I will tell you what stands out.